Registering emails for scanning on your Konica Minolta
This guide will take you step by step through how to register email addresses in your Konica Minolta Multifunction's address book.

1. Find the IP address of your printer.
On the control panel of your Konica Minolta Multifunction Printer, go to Menu->Utility->Device Information and take note of the ‘IPv4 address’.
2. Open a web browser on your PC (e.g. Google Chrome, Internet Explorer, Microsoft Edge).
3. In the address bar at the top, enter your printers IP address and press ‘Enter’.
4. Select the ‘Store Address’ tab.
5. Select ‘New Registration’.
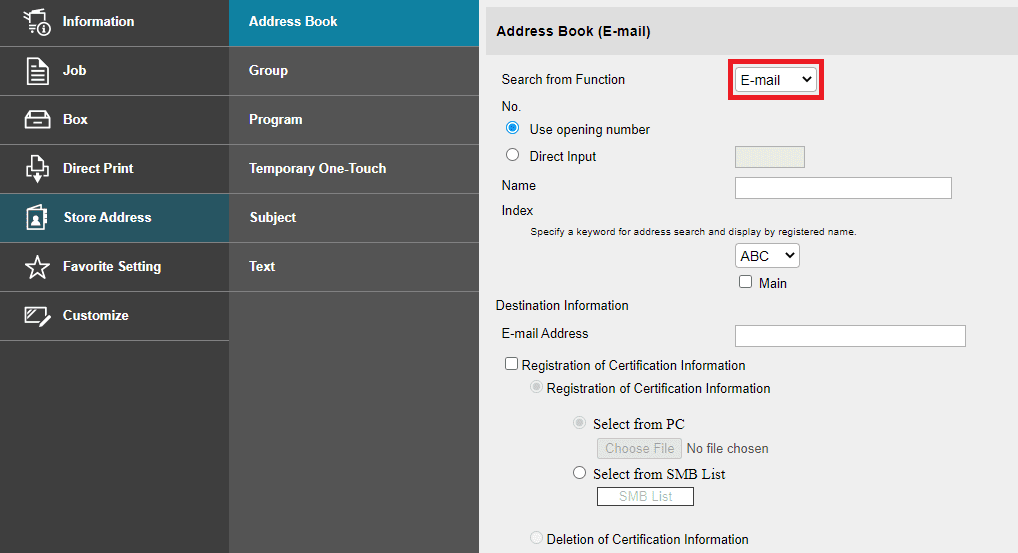
6. Select ‘Email’.
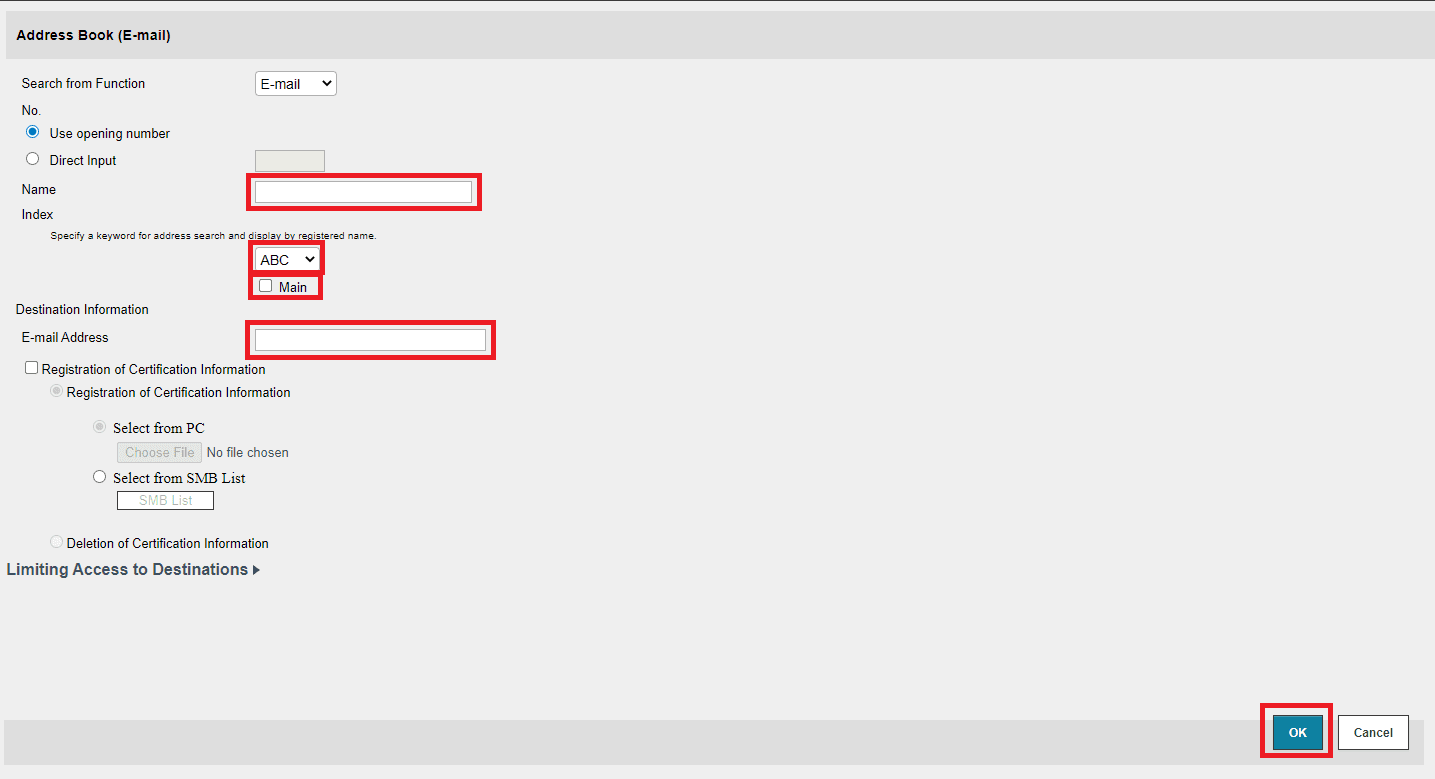
7. Enter the ‘Name’ (This is the name that will appear on the button on scans screen).
8. Choose the ‘Index’ for the entry to appear in (e.g ABC, DEF, etc) and tick the ‘Main’ checkbox if you would like it to appear in the favourites.
9. Enter the ‘Email Address’ and click ‘OK’.
10. You will be prompted to ‘Continue Registration’ to add another email or ‘Return’ to go back to the list of registered entries.
You can also edit or delete any existing entries by selecting edit/delete next to the entry name.


