Installing the Konica Minolta Universal Print Driver on Windows
This guide steps you through installing the Konica Minolta Universal Print Driver on your Windows device.

1. Download the Konica Minolta Universal Print Driver from the below link.
2. Extract the zip file to somewhere on your PC.
3. Run Setup64.exe file. (If this one doesn’t work use Setup.exe)
4. Follow the wizard to install the driver.
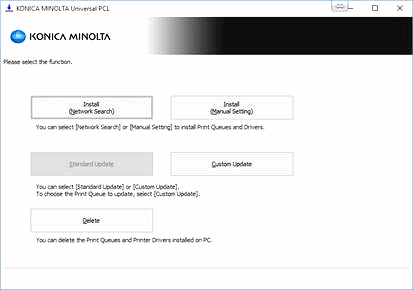
Click ‘Agree’ to agree to the License Agreement
Select ‘Install (Network Search)’.
This will search your network for any printers.
If no printers can be found you may not be connected to the same network as your printer.
(Check you are connected to the correct network and search again)
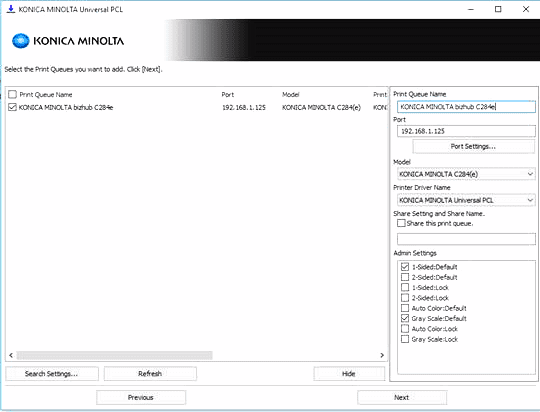
5. Tick the printer you wish to install.
Select details on the right hand side.
Check the options at the bottom under ‘Admin Settings’ to change the default settings.
Select ‘Next’ and then select ‘Install’.
1. Press the “Start” button and in the search box type “Control Panel”.
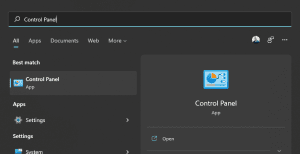
2. Open the Control Panel and select “Devices and Printers”.
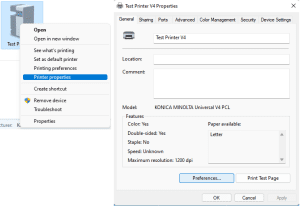
3. Right Click on the Konica Minolta Print Driver and Select “Printer Properties”. Select “Preferences”.
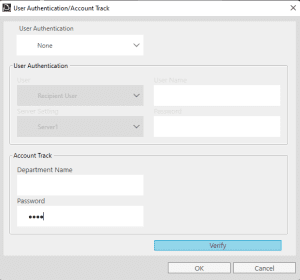
4. Select “All Tab”, Expand “Basic” and select “Authentication/Account Track”.
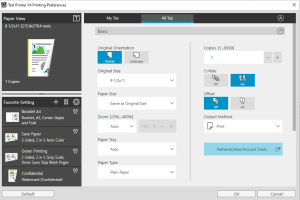
5. Enter the Account Track password and select “Verify” to test it.
Select “OK” three times.