Installing a print driver on MacOS
This guide steps you through installing the Konica Minolta Print Driver on your MacOS device.

1. Download the driver from the Konica Minolta Website
*Each model has its own specific driver for different versions of MacOS
2. Select or search for the Model of your printer and press Go
3. Select your MacOS version and download the latest version.

4. Run the driver package on your Mac
*If there is an option between A4 and Letter, choose A4.
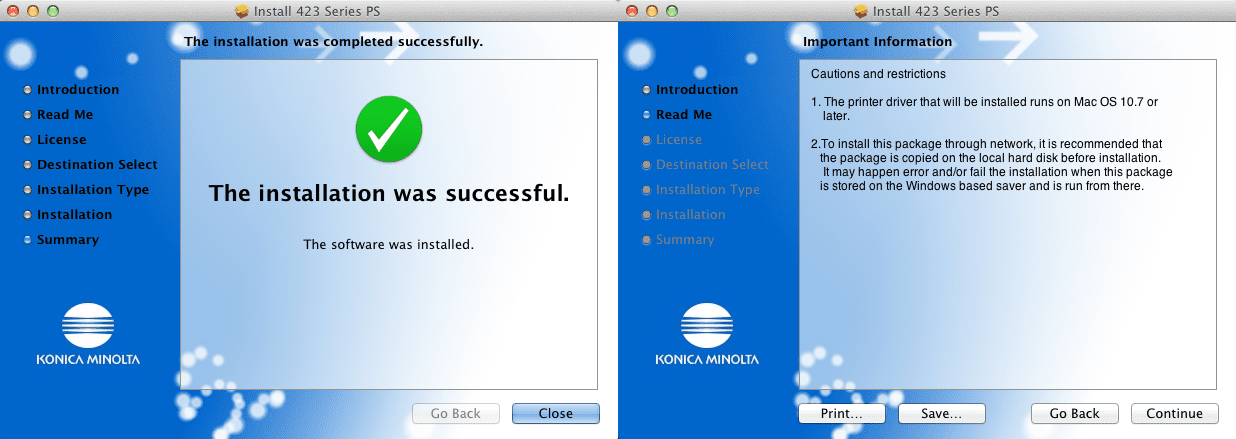
5. Follow the prompts to install the driver package.
Installing the Print Queue
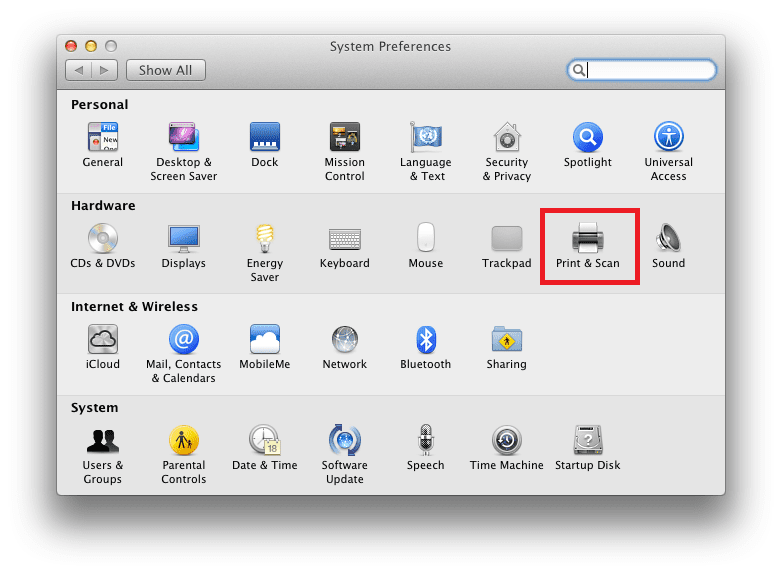
1. Choose Apple menu > System Preferences, Printers and Scanners
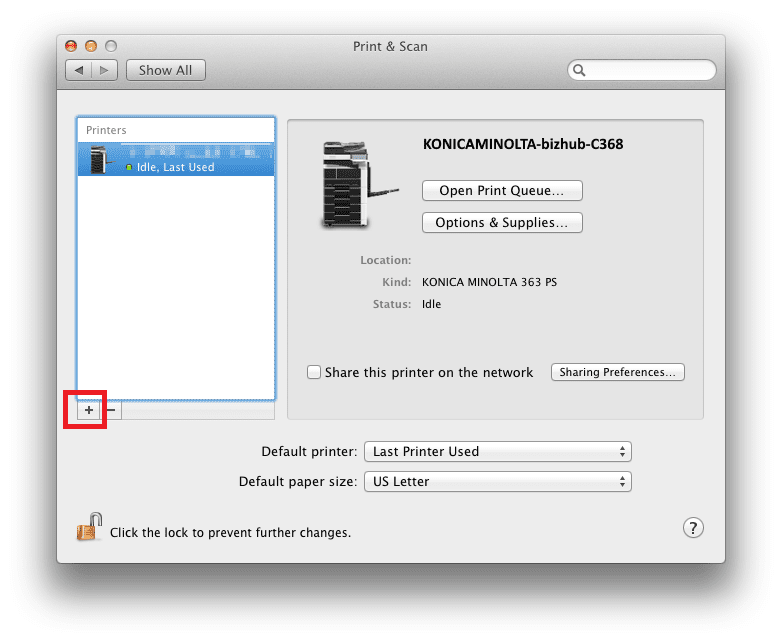
2. Choose the plus sign(+) to add the print queue.
3. Select the Konica Minolta Bonjour Printer from the list.
The driver should automatically select the previously installed driver package.
*Ensure the driver has PS at the end, not AirPrint.
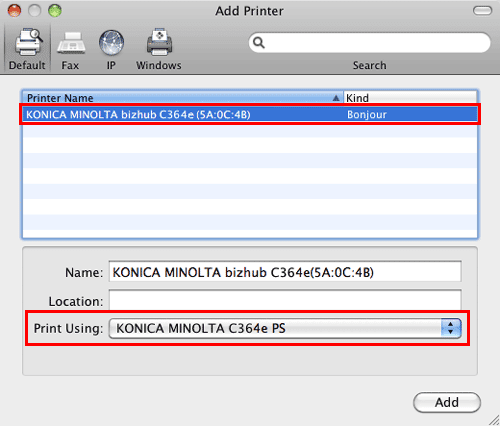
4. Click “Add”
5. If you are prompted for options, select any additional trays or finishers you have and press OK.
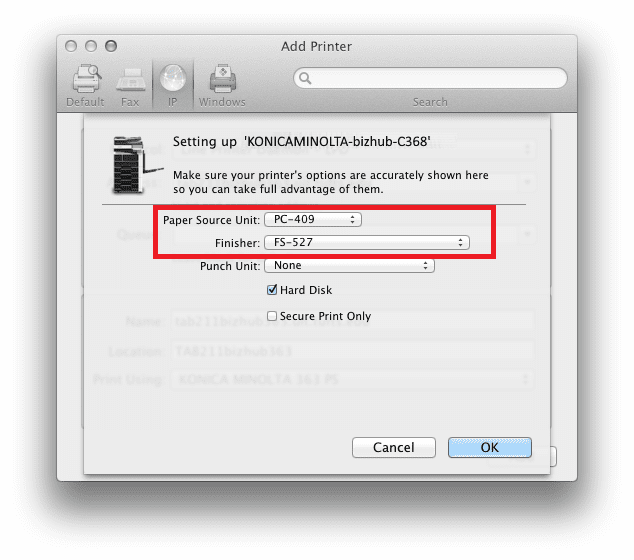
Adding your Account Track Code to the driver (if applicable)
*On MacOS 10.x you will need to do the following in a non-Apple application.(e.g Adobe Reader, MS Word) and save it as a preset to use in Native Apple applications as the driver doesn’t function normally in Native Apple applications in MacOS 10.x.
*On MacOS 11 this can be done from any application.
1. Open a document to print.
2. Select the “Layout” drop down box and select “Output Method”.
3. Tick “Account Track” and select “Detail Settings”.
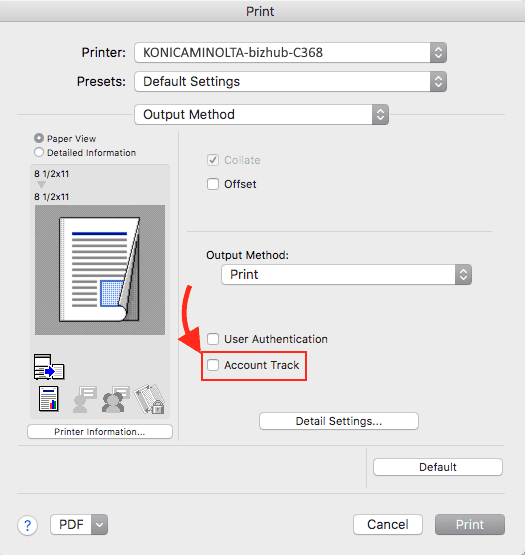
4. Select “Account Track” and select “Settings”.
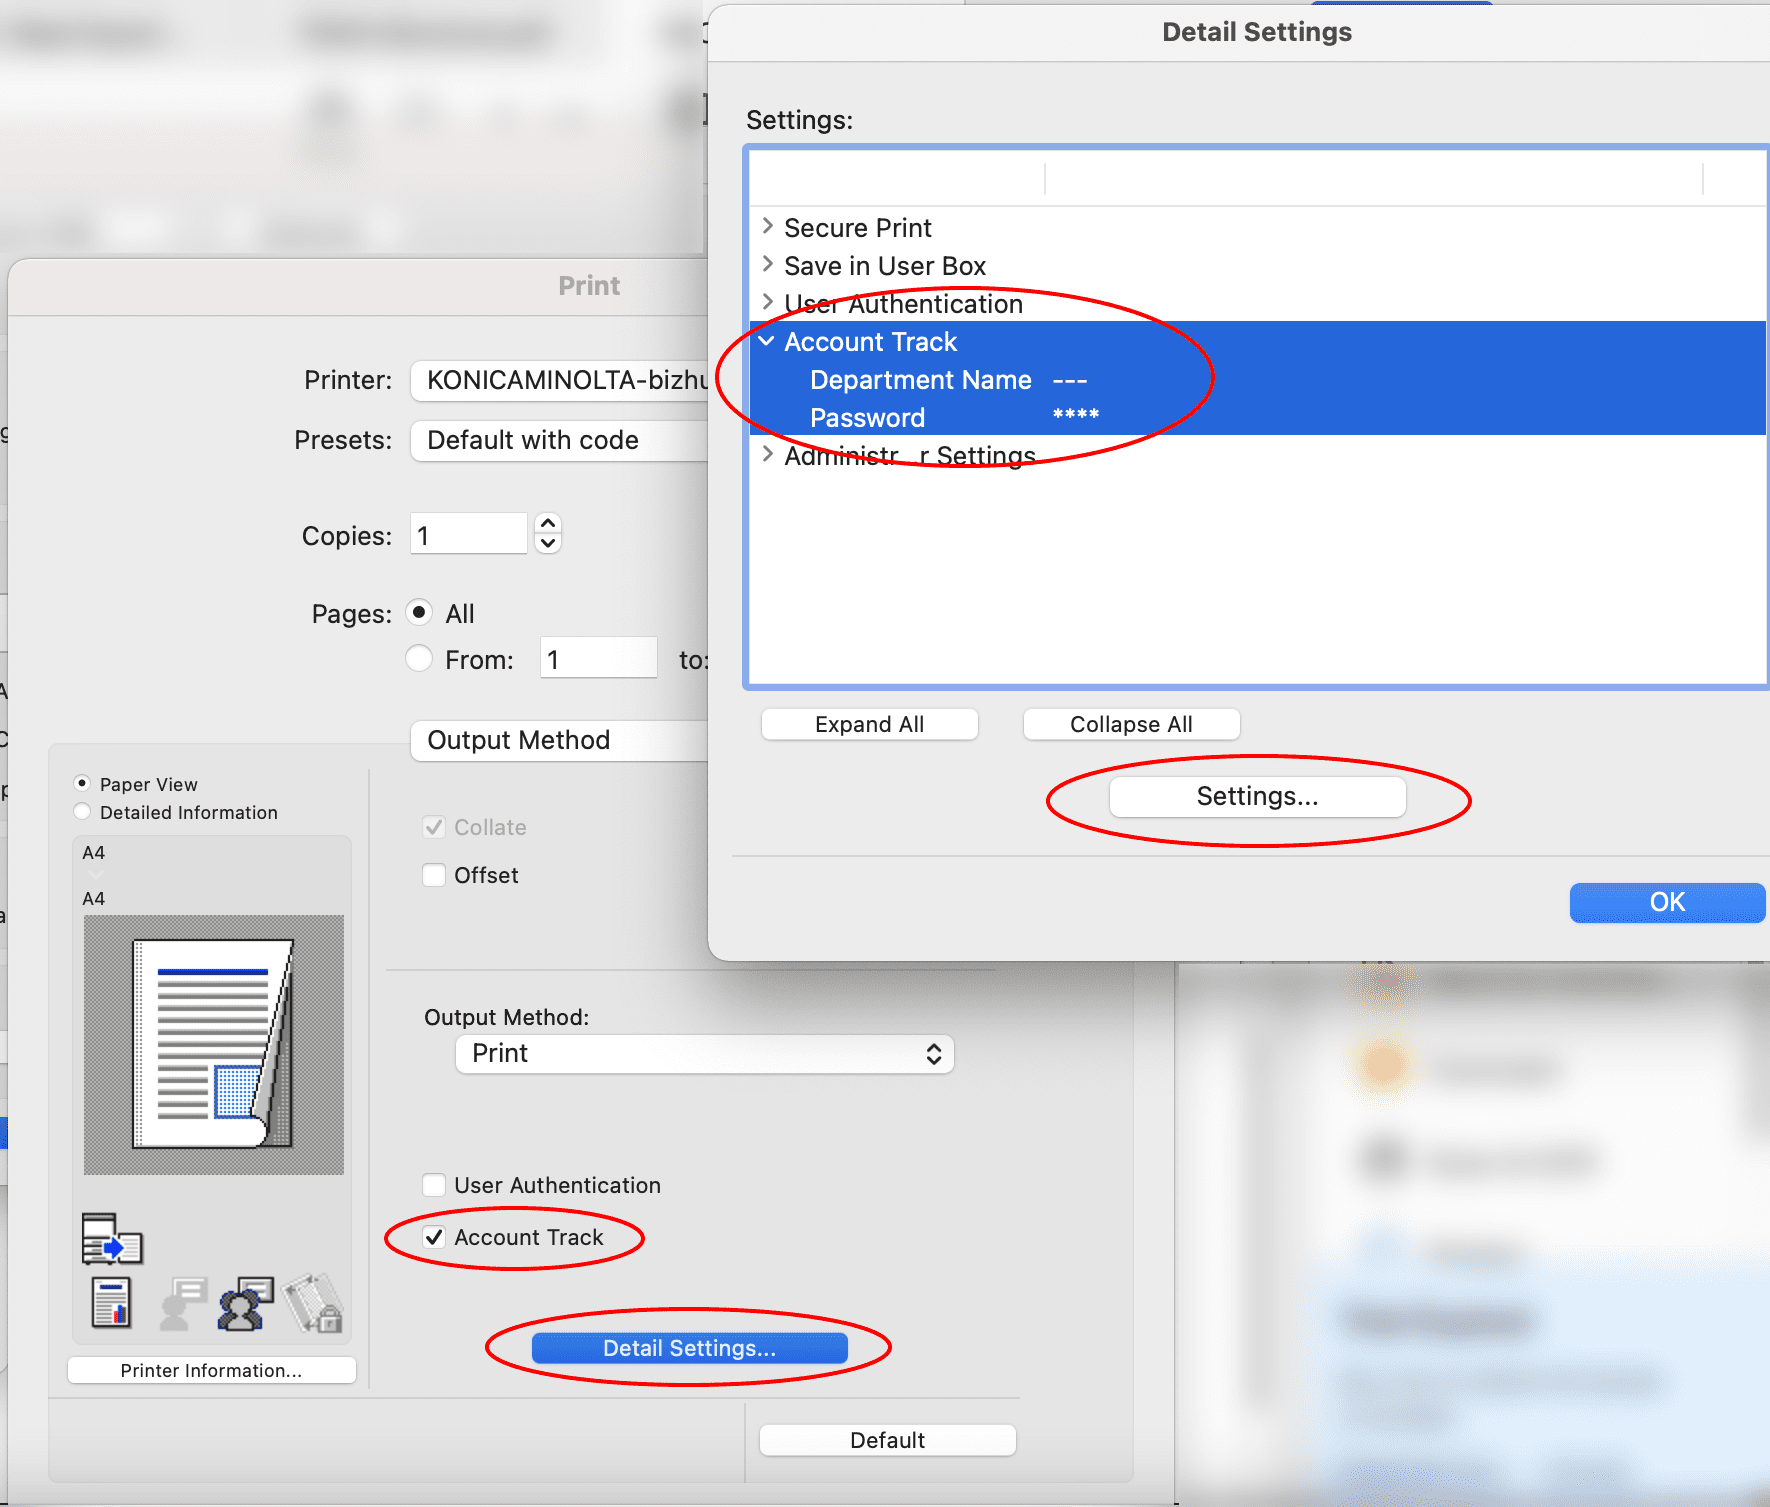
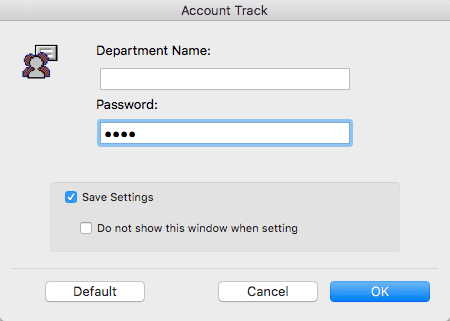
5. Enter your account code in the “Password” field, tick “Save Settings” and click “OK”
